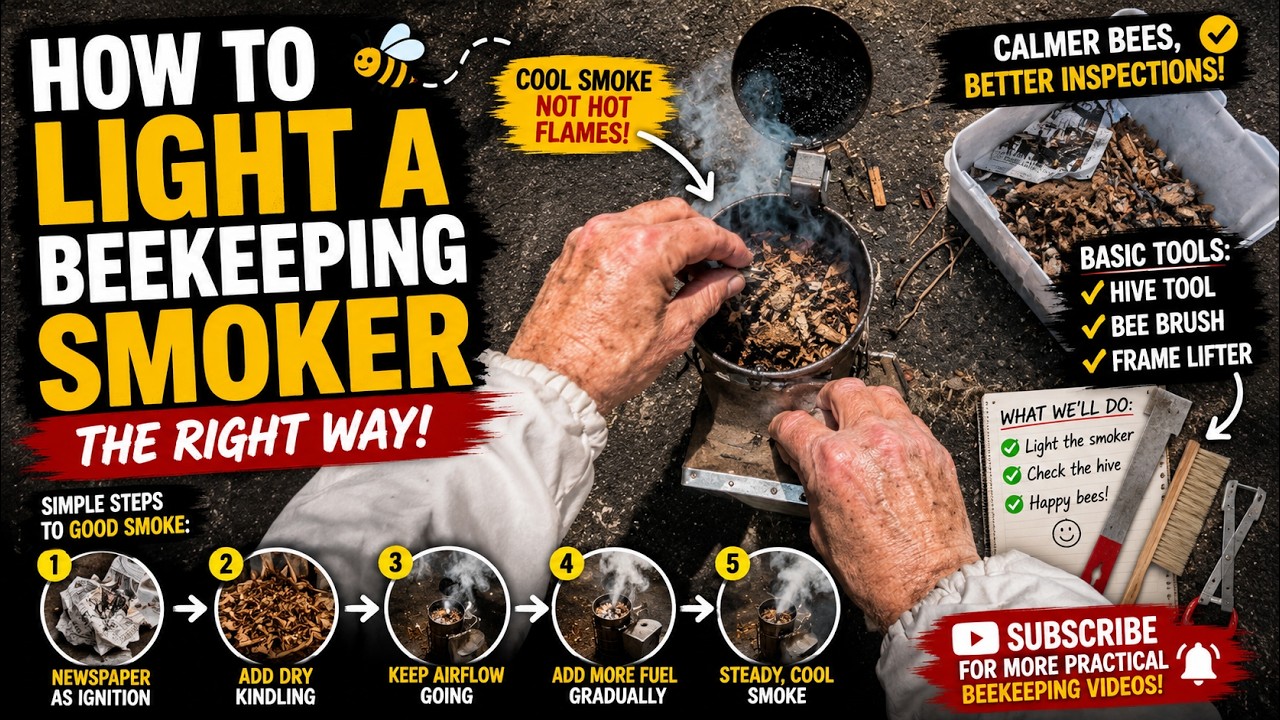
How to Light a Beekeeping Smoker So It Stays Lit
How to Light a Beekeeping Smoker So It Stays Lit
Learning how to light a beekeeping smoker is one of the first practical skills every beginner beekeeper needs to master.
It sounds simple at first. Add fuel, light it, puff some smoke and open the hive.
But when the smoker goes out halfway through an inspection, everything becomes harder. The bees become more reactive, your confidence drops and the whole inspection can feel rushed.
If you are starting to learn beekeeping, getting your smoker right early will make every hive inspection calmer, smoother and far less stressful.
Why a Good Smoker Matters
A properly lit smoker helps calm the bees before and during an inspection.
Cool smoke encourages bees to move down between the frames and can reduce defensive behaviour around the hive entrance and top bars.
When the smoker is working well:
- The bees stay calmer
- The inspection feels more controlled
- You can move more slowly
- Frame handling becomes easier
- You are less likely to rush decisions
A smoker is not just an accessory. It is one of the most useful tools in backyard beekeeping.
Start With a Reliable Ignition Base
The first step is creating a strong base that catches properly.
Newspaper works well because it lights quickly and gives you an easy starting flame.
The goal is not to pack the smoker full immediately.
The goal is to create a small, reliable fire at the bottom of the smoker before adding more fuel.
If the base is weak, everything added later will struggle to stay lit.
Build the Fuel Slowly
Once the newspaper is burning properly, dry natural fuel can be added gradually.
Good smoker fuel options include:
- Dry bark
- Mulch
- Dry leaves
- Dry garden material
- Small dry twigs
The key is dryness.
Damp fuel creates frustration. It can smoulder poorly, produce unpleasant smoke or go out quickly.
Adding fuel slowly allows the heat to build properly without smothering the flame.
Do Not Pack the Smoker Too Tightly
One of the most common smoker mistakes is packing the fuel too tightly.
A smoker needs airflow to keep burning.
If the fuel is compressed too much, oxygen cannot move through it properly and the smoker will go out.
If the fuel is too loose, it may burn too quickly.
The best result comes from a balance:
- Enough fuel to hold heat
- Enough airflow to keep combustion going
- Enough structure to produce steady smoke
What Good Smoker Smoke Looks Like
A good smoker should produce cool, steady smoke without flames.
Before approaching the hive, check that the smoker is producing:
- Consistent smoke
- No visible flame
- Cool output
- A steady burn that lasts
Hot smoke or flames are not what you want near bees.
The aim is gentle, controlled smoke that helps the colony settle.
Some of my other posts you might like
- Average honey production per hive explained
- How extreme weather is changing conditions in Australia
- How solar PV systems work and what to expect
- Understanding offshore wind energy
- How concentrated solar power generates energy
- Is small scale wind power worth it
Have Your Hive Tools Ready First
Before opening the hive, it helps to have everything ready.
Useful beginner beekeeping tools include:
- A hive tool for separating boxes and frames
- A frame grip for easier handling
- A bee brush for gentle movement when needed
- A working smoker with steady smoke
Preparation matters because once the hive is open, you want to stay calm, focused and efficient.
Why Preparation Changes the Whole Inspection
A reliable smoker sets the tone for the entire inspection.
When it works properly, you are not distracted by trying to relight it or rushing because the bees are becoming defensive.
You can focus on what actually matters:
- Brood patterns
- Queen activity
- Honey stores
- Hive behaviour
- Space and swarm signs
Understanding how to make honey starts with calm, useful inspections. A good smoker helps make that possible.
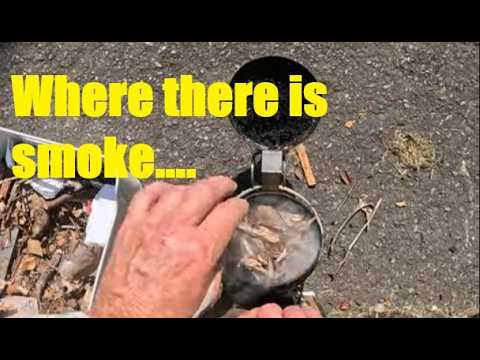
Watch How I Light My Smoker Step by Step
This video shows a simple smoker lighting method using newspaper and dry natural fuel to build steady smoke for beekeeping inspections.
Why Beginner Beekeepers Should Practise This Early
Lighting a smoker is not complicated, but it does take consistency.
Practising before a full inspection helps remove pressure when it matters.
Once the smoker becomes second nature, hive inspections feel much easier.
You are no longer fighting your equipment while trying to manage the bees.
Frequently Asked Questions About Lighting a Bee Smoker
What is the easiest way to light a bee smoker?
Start with newspaper as an ignition base, then gradually add dry natural fuel while keeping airflow moving through the smoker.
Why does my bee smoker keep going out?
A smoker usually goes out because the fuel is damp, packed too tightly or not given enough airflow.
What fuel can I use in a bee smoker?
Dry bark, mulch, dry leaves, garden material and small dry twigs can all work well as smoker fuel.
Should smoker smoke be hot or cool?
Smoker smoke should be cool and steady. Hot smoke or flames should not be used around bees.
How do you keep a smoker lit during inspections?
Build a strong base, add dry fuel gradually and avoid packing the smoker so tightly that airflow is blocked.
Do you need a smoker for every hive inspection?
A smoker is strongly recommended because it helps keep bees calmer and makes inspections easier to manage.
What should good smoker smoke look like?
Good smoker smoke should be consistent, cool and steady, with no visible flames coming from the smoker.
Final Thoughts
A bee smoker is one of the simplest tools in beekeeping, but using it well makes a huge difference.
With the right dry fuel, steady airflow and a little preparation, smoker lighting becomes quick, reliable and far less frustrating.
If you are just getting started and want to build your confidence step by step, this how to start beekeeping for beginners guide is a great next step.


Comments
Post a Comment